Lower Petawawa River
- Lower Petawawa River
- Philip Edward Island
- Gwaii Haanas
- Low Water Guide to the Rapids and Portages
- This is a Canoe Guide?
- So Here It Is
- Big Thompson Rapid
- Little Thompson Rapid
- Grillade Rapid
- Crooked Chute Rapids
- Rollway Rapid
- The Natch Rapids (Upper or First Section Rapids)
- The Natch Rapids (Lower or Second Section Rapids)
- Schooner Rapids
- Five Mile Rapids
Low Water Guide to the Rapids and Portages
The Lower Petawawa River in the summer or fall, when the water is low, is a great river for anyone with a little bit of whitewater experience. It is of course also a great river for anyone with a lot of white water experience. It’s a beautiful river, with varied terrain and fun rapids for every skill level. It is a particularly good option for those who have taken a whitewater paddling course, or have done a little bit of whitewater paddling, and would like to try out a first whitewater trip. It can be paddled in a few days, and all of the rapids have clearly marked portages around them, so any rapids which you feel are beyond your skill level can be portaged. The only caveat to that statement is that although there are portages around the last two rapids, Schooner Rapids and Five Mile Rapids, it isn’t reasonable to think you can portage them. It would add more than seven kilometres of portaging to the end of your trip, as you carried your canoe around largely flat water or simple swifts. It would be far to tempting to run them. So if you don’t have the skills to run some basic rapids you shouldn’t be paddling this river.
Good judgment is also essential. I have been on several trips on this river where I’ve had to assist people who had gotten themselves into trouble. In one case a father and son had paddled up from the lakes at the bottom of the river, and portaged and paddled up the river a bit so that they could run down some of the easy rapids at the end of Five Mile Rapids. They had no experience with whitewater, but the rapids do appear extremely easy. They ended up getting turned sideways and wrapping their canoe around a rock. When we came by they had managed to get their gear out of the canoe and were sitting on the side of the river at the bottom of the rapids hoping someone would come along. Fortunately for them we were paddling our extremely high capacity tripping canoe and were able to sit them both in the middle and pile their gear on ours and paddle them out to their vehicle.
In another instance, at the other end of the spectrum, we had just stopped at the start of the portage around Rollway Rapids, the most challenging rapids on the Lower Petawawa River, when a group of four or five canoes came paddling past. They were mostly just young kids in their mid-teens, and we later discovered that they were a guided group from one of the camps. In an act of sheer idiocy, they paddled straight past the portage and into the rapids. This was intentional. It isn’t like Rollway Rapids sneaks up on you. They planned to run them. Every canoe dumped in the first hundred metres or so. A couple of kids were forced to bump their way to the bottom of the rapid, but most got out towards the top of the rapid on the far shore. One of the guides, a young guy himself, had injured his leg, but otherwise they were extremely lucky that no one was seriously hurt. Gear was everywhere. We paddled across the river and ferried people over to the portage, and they had a radio which they used to call for help to get taken out.
The point of these examples is that whether it is in the easiest or the most difficult of rapids, good judgment is essential. Choosing whether or not to paddle the river at all likewise requires good judgment. With good judgment however, the Lower Petawawa River in low water is a fantastic trip for just about anyone with a little bit of white water skill.
If I haven’t scared you off of it yet, this video will hopefully convince you to go:
This is a Canoe Guide?
An unusual canoe guide indeed, this guide never leaves the internet. This guide is meant as a companion to the paper guide Petawawa River Whitewater Guide put out by The Friends of Algonquin Park. This paper guide has been directing people down the river for many years, and is essential for anyone planning to run the river. It is a great guide that allows you to easily follow your progress down the river, and gives you a basic idea of the rapids and portages coming up.
To me, a river guide should accomplish a few things. It should allow you to easily track your progress down the river by including a good map. It should give a clear indication of where to find the portages and what it is they are avoiding. It should also give a reasonable idea of the difficulty of each of the rapids, and indicate if any of the rapids can not be run. Lastly, it should inform you of any other pertinent information, such things as where to scout and which side of islands to run. The Petawawa River Whitewater Guide does a great job of all of these things (with one important error at Natch Rapids, which we’ll get to later).
Sometimes it’s nice to have more though. This is particularly true on a river that might be used by people as an early whitewater trip. It can be hard to imagine what all of that information in the guide actually translates to in real life. Even after doing many trips and following many different guides, I still find it difficult to determine what a trip will actually be like based on the guide. Until you’ve actually been on the river for a bit and gotten a feel for how the author of the guide has evaluated things, and what they consider difficult or easy, you don’t really know what to expect.
This is where this internet based guide comes in. Rather than rely on someones subjective opinion, wouldn’t it be nice to be able to see the rapids and walk the portages? At Hodnett Canoe Guides we think it would. So continue reading and take a vicarious journey down the Lower Petawawa River to see if it’s somewhere you’d like to be.
You Can Help
If our efforts at Hodnett Canoe Guides have produced something that you find useful, or perhaps just enjoyable, it would be great if you could help us out. I believe that the most pleasurable way to do this is by purchasing a copy of my book, Paddling with a Naturalist. Thank you.
Buy Paddling with a Naturalist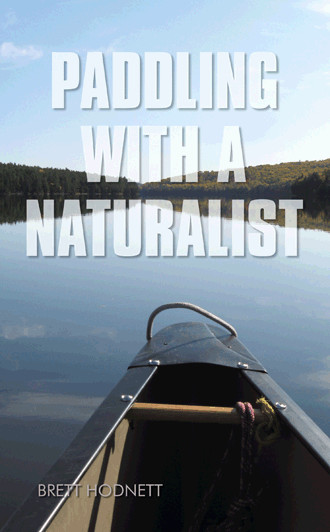
So Here It Is
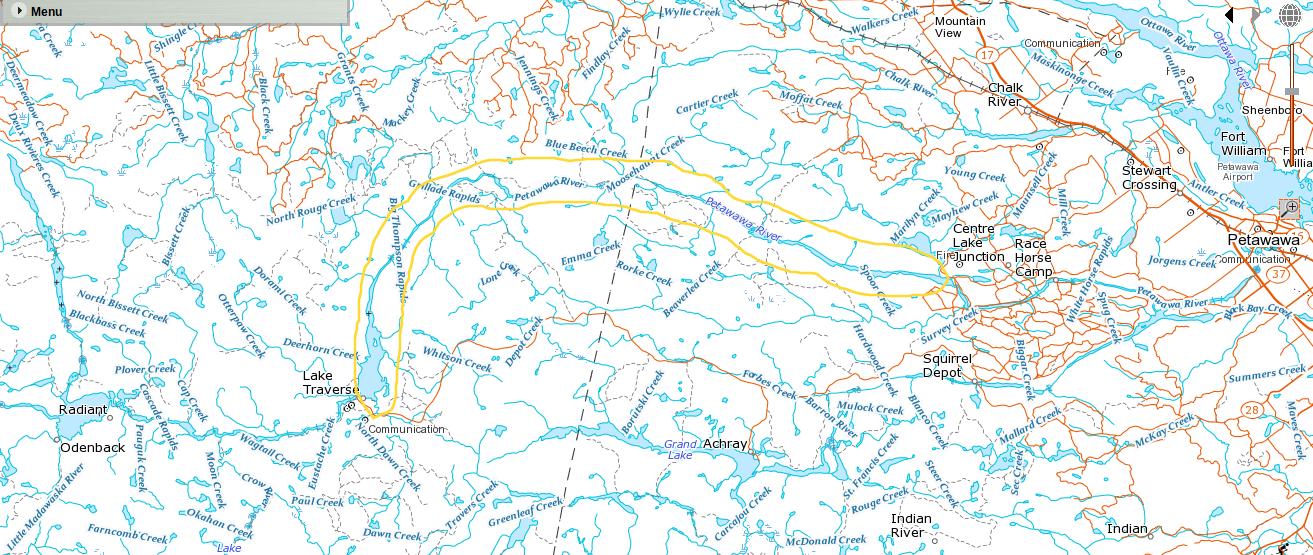
As you may have deduced from the map, a car shuttle will be required. You’ll need to leave a car at the take-out on McManus Lake, and then drive about 45km along a good dirt road to the put-in at Lake Travers. If you only have one vehicle and are ambitious, you can lock a mountain bike up in the bush near the takeout, and then ride the dirt road up to your vehicle at the end of your trip. If you are training for a marathon, perhaps you could run up and pick up your car. Shuttles are also available either through: Algonquin Portage Store and Outfitters or Algonquin Bound.
However you get there, when you arrive at the parking at Lake Travers it will look like this:
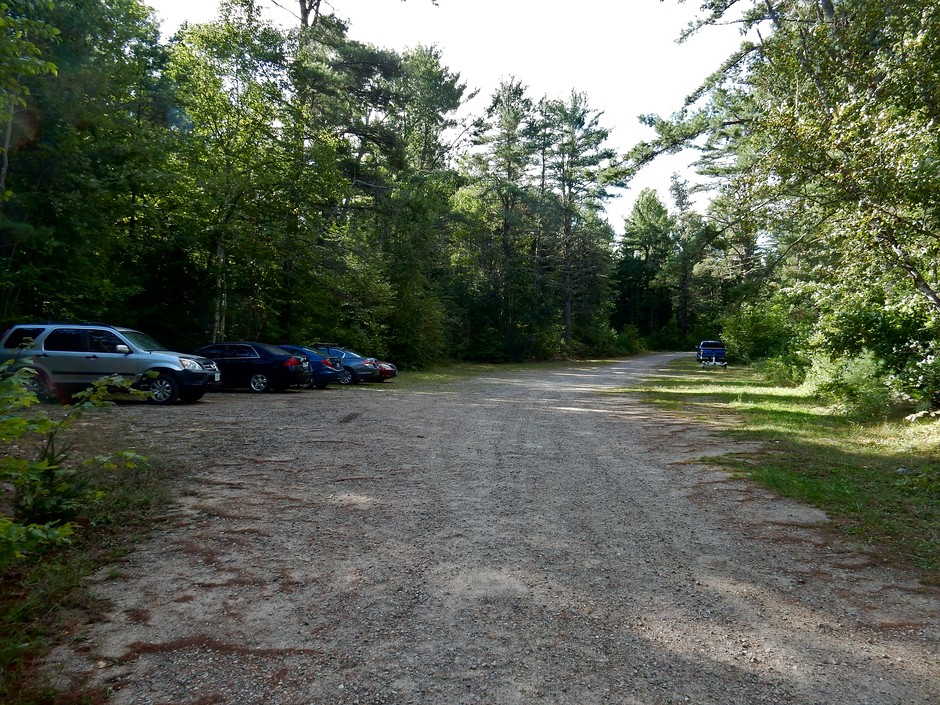
And the put-in at Lake Travers looks like this:
Your first five kilometres of paddling will be on the lovely Lake Travers. You might even want to spend a night here. Have a watch of a super calm paddle on Lake Travers, and a couple of pictures.
The river leaves the end of the lake, and after about five kilometres we come to the first set of rapids. From here on follow the maps in your paper guide to determine the distances between and sequence of the rapids. The sections below will follow the sequence of the rapids and portages on the map. There will be a video of each portage, and a video or series of videos of each rapid. There may even be the odd picture. Please remember that the flow rate of the river during the trip that these videos were made was just under 20m3/s. You can see that the situation is very different at different times of year, and at the same time in different years. Have a look at: https://wateroffice.ec.gc.ca/
So please check water levels before you go to ensure that you know what to expect. Also, you should scout every rapid before deciding whether to run it or not.
Big Thompson Rapid
The portage for Big Thompson Rapid is 345 metres long and starts on the right hand side of the river. Have a walk through it:
Alternatively, you may be able to run Big Thompson Rapids. Check out the rapids:
Little Thompson Rapid
A few hundred metres after Big Thompson Rapids you will come to Little Thompson Rapids. This portage is 165 metres long and the takeout is on river left. Take a walk:
You may be able to run Little Thompson Rapids as well. Have a look.
Grillade Rapid
About seven kilometres after Little Thompson Rapids you will reach Grillade Rapid. There is a 425m portage on river right, but there is no reason to use it. You’ll be able to just paddle through Grillade Rapid as you can see.
Crooked Chute Rapids
Shortly after Grillade Rapid there is a take out for a portage around Crooked Chute Rapids on river right. If you take out here it is a long 1580 metre portage. It is unlikely that you would have to take out here though. There are two more take outs further down Crooked Chute Rapids, and except in very high water it is quite an easy paddle down to the first of these take outs. You need to stick close to the right shore as it is not terribly easy to see the second take out until you get to it. If you get out at the second takeout it will save a considerable amount of carrying. The portage from the second take-out to the last takeout is also a flat, straight walk along the river.
In low water, if you have a reasonable amount of whitewater experience, you may decide to run the rapids to the last take out. It is not an extremely difficult run, but nonetheless it is a serious decision. The reason is that the last take-out is just above Crooked Chute itself, which absolutely must be avoided, as it is a huge crashing volume of water that could seriously injure anyone who accidentally went down it. Missing the take-out, or having a spill just before the takeout could have dire consequences. Making this a bit more intimidating is the fact that although the last take-out is on river right, in low water you will need to go quite far out to the left of the river, to avoid the rocky shallows, before coming back across to the right hand side to the take-out. Take a look at this video to see what running the rapids from the start of Crooked Chute Rapids to the last takeout might be like:
Once you arrive at the last take-out, either by foot or by boat, you will need to do some sort of portage to avoid Crooked Chute itself. The simplest thing to do is to take the main portage trail to the end of the rapids. Alternatively, there is another trail that takes you to a put in just below the Chute itself, allowing you to run the rapids below Crooked Chute. These rapids are quite challenging, so you would want to walk down and have a look at them before deciding if you can run them.
If you choose to take the main portage, be observant and make sure you take the main portage trail. The main trail starts heading off practically perpendicular to the take-out and into the woods. It is very easy to accidentally follow the other trail which continues along the river and takes you to the put in below Crooked Chute.
Stroll down the main portage trail here:
Now take a walk down the trail along the river to the put in below Crooked Chute.
There is also another option for those who really don’t like portages and would like to run the rapids below Crooked Chute. It is possible to do a “sneak” to below Crooked Chute. This requires lining maybe forty feet further down river from the last take-out, and carrying your canoe and gear across an old log sluice and putting in just the other side of Crooked Chute. This requires a bit less carrying, although I feel that it really isn’t worth the trouble as the portage is quite straightforward , and the sneak still needs to be carried and is much rougher underfoot. Have a peek at the sneak anyways, just for fun. While you’re at it, notice the small tree which leans out over the water about forty feet down river. Behind this tree is the put in of the portage in the previous video.
If you do decide to run the rapids below the Chute, the video below will give you a sense of what they look like:
Rollway Rapid
In less than two kilometres of paddling you will reach another portage on the right above Rollway Rapids. This is an 820 metre long portage. You need to get out here. Unless you are a very experienced whitewater paddler you should not run Rollway Rapids. Even if you are experienced you still need to get out and scout this rapid. As I alluded to earlier I have watched several people come to harm on this rapid, and have also seen abandoned canoes wrapped around rocks in the middle of the river.
So here is the portage you will have to do. It is actually a really nice walk:
For your viewing pleasure, here are Rollway Rapids:
The Natch Rapids (Upper or First Section Rapids)
The Natch Rapids. Here is where the official Petawawa River Whitewater Guide falls apart. Not far from the end of Rollway Rapids is a portage on river left to avoid the Upper or First Section of The Natch Rapids. This is correct in the paper guidebook. The portage itself is marked as 275 metres which may well be correct, I‘ve never measured. What is confusing about the guide here is that its map shows a 275 metre portage trail with what look like separate trails leading from the main trail down to the water in between the two ledges that make up the First Section of The Natch Rapids. On the ground however, the trail climbs up a fairly difficult steep and winding path and then comes back down to the water and continues right along the shore for maybe a hundred metres, before reaching a rapid, and then heading steeply back up and into the woods. The rapid where it heads back up into the woods is the second ledge of the First Section of the Natch Rapids. So until you again go up in the bush and around this rapid, you haven’t finished the portage around the First (Upper)Section of Natch Rapids.
Due to the short distance between the First and Second Sections of the Natch Rapids, and the fact that the map doesn’t show the first portage coming down to the water, you could be excused for thinking that you had actually portaged the First AND Second Sections of The Natch Rapids. What makes this an almost irresistible conclusion to come to, is the fact that the description of the Second Section of The Natch Rapids in the paper guide, is actually a description of the second ledge of the First Section of The Natch Rapids. So until you have climbed up a steep, windy climb, and then come back down to the river and gone up again on a second steep windy climb before coming back down to the river again, you have not finished the portage around the First (Upper) Section of the Natch Rapids. I know that that is almost at least as confusing as the grammatically correct sentence “The man the professor the student has studies Rome”, nonetheless, this is a true mistake in the paper guidebook. Hopefully it will clarify it a bit if you walk the entire portage of the Upper Section with your virtual legs here:
You may choose to run either the first or second ledges of this First (Upper) Section of The Natch Rapids. They are both short drops that are simple to scout, so it’s easy to determine if you’d like to run them. If you choose not to run the first ledge, it is still possible to avoid the first steep climb of this portage in low water. To do this you need to stay along the left shore beyond the portage take-out for a little bit further downriver towards the ledge, and take out directly at the campsite. It’s a good idea to get out at the legitimate take-out of the portage first and then walk down to the campsite to see where you could take out above the rapids, and make sure that it is safe at your particular water level. It is then just a short carry through the campsite to the bottom of the first ledge of the rapids. Obviously if anyone is staying at the campsite, respect their privacy and don’t use this short cut. Once you put in below this first ledge you then just need to paddle the short distance down to the second ledge and take out immediately before it. Here are the first and second ledges of the First (Upper) Section of the Natch Rapids which, as described, can really be treated as two separate rapids:
The Natch Rapids (Lower or Second Section Rapids)
Now that you have managed to get yourself past the First (Upper) Section of the Natch Rapids, you will have to paddle for a very short distance before reaching the 250 metre portage on river left to avoid The Second (Lower) Section of the Natch Rapids. If you walk this portage it will be very much like this:
The paper guide is silent about this Second (Lower) Section of The Natch Rapid because the description of this rapid is actually a description of the second ledge of The First (Upper) Section of the Natch Rapids, as explained above. This Second Section is actually a fairly straightforward run down the middle of the rapid, which flows on the right hand side of the island. Don’t take this to mean that it can be run by anyone though. Have a look at it and assess for yourself. Just after this rapid is a second one that is really just a swift. The portage avoids both of these. The main rapid of this Second (Lower) Section of the Natch Rapids is here:
Even without the errors in the paper guidebook, wouldn’t all of this have been much easier if The Natch Rapids (Second Section) was just given a different name? I propose that the first section retain the name of The Natch Rapids, while the second section be given a new name. Perhaps Confusion Rapids would be fitting.
Schooner Rapids
Schooner Rapids is a long fun run of mostly very easy moving water. There are two distinct sections of Schooner Rapids. The first section ends after you pass under the hydro line bridge and into a small widening of the river where the water goes calm.
Here’s the run down to there:
After the brief calm, Schooner Rapids starts again:
A small break from the rapids, Schooner Rapids ends at a little lake called Coveo Lake. It won’t be long however, until you are in the rapids again at Five Mile Rapids.
Five Mile Rapids
Five Mile Rapids is another long run of mostly easy moving water. There are four distinct sections, with a small calm section between each. The first section of Five Mile Rapids is the longest and most substantive as this video will testify:
A brief bit of calm, just enough to wiggle your toes will bring you to the second section of Five Mile Rapids:
Another brief bit of calm, as good a time as any to do the Hokey Pokey. You will be upon the third section of Five Mile Rapids soon.
Another short break, but really your ride is mostly done. The fourth and last section of Five Mile Rapids is barely a rapid at all in low water levels. Here is the video nonetheless.
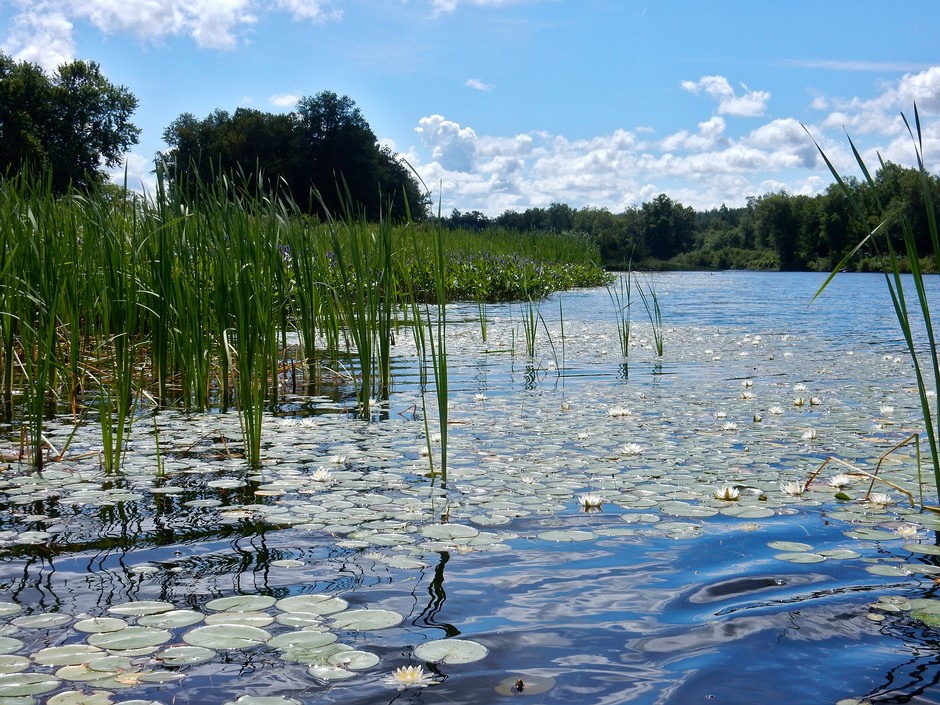
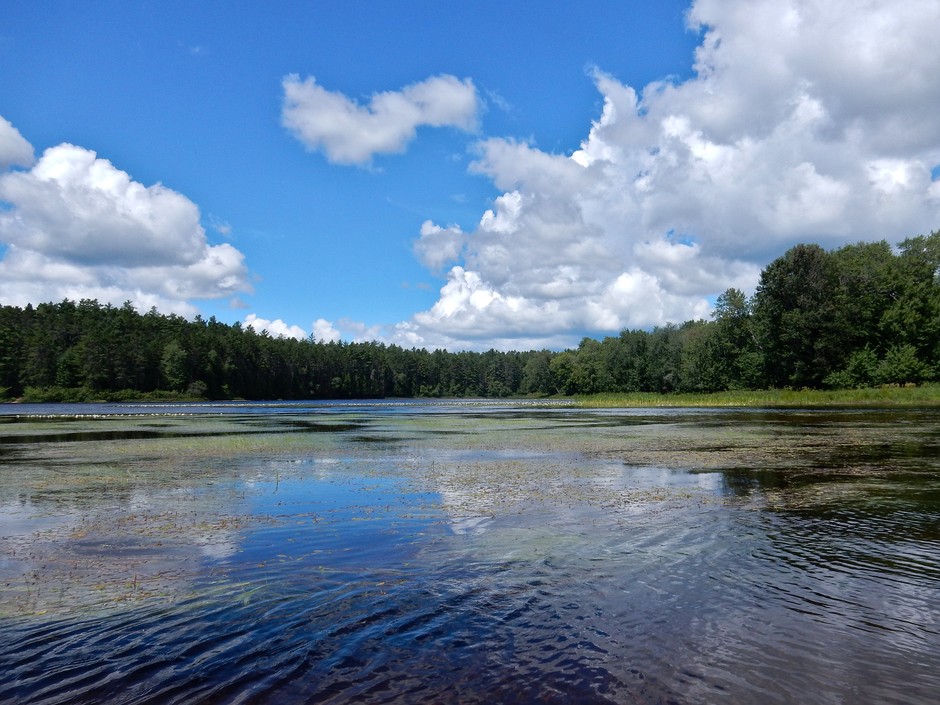
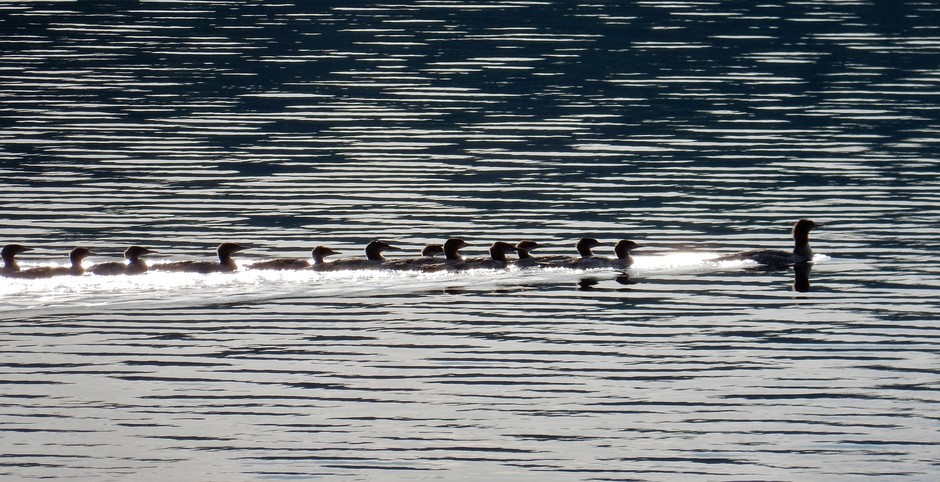
With the rapids past, the eleven kilometre paddle down the last three lakes can seem like an arduous journey. It doesn’t need to. If you plan your trip to include the lakes you might even enjoy them. The first lake at the end of the rapids is Whitson Lake. Whitson Lake has accumulated a lot of sediment, which has produced a series of low lying islands and wetlands. There is a distinctly southern feel to this lake, with great habitat for wildlife. Have a look.
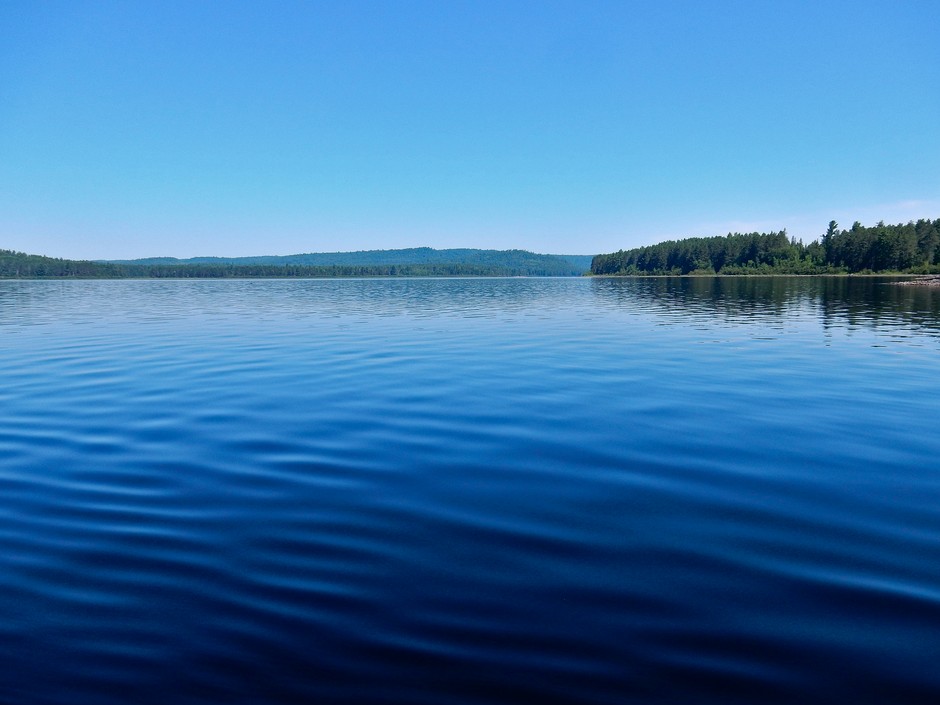
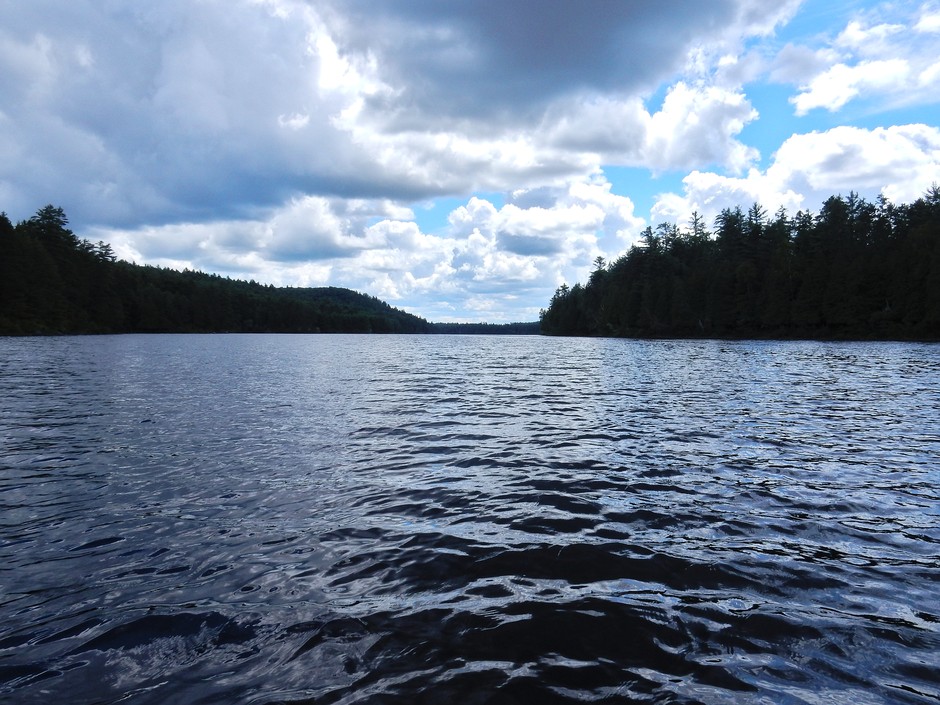
Next you’ll come to Smith Lake. Smith Lake is fairly difficult to get excited about. It is a long thin lake with little to distinguish it. The shores arise fairly abruptly with almost no rock outcrop, making it less than ideal for campsites. They don’t arise abruptly enough however to make the shore very interesting. To put a positive spin on it, there is nothing particularly bad about Smith Lake, and there aren’t many campsites, so you may end up with the lake to yourself.
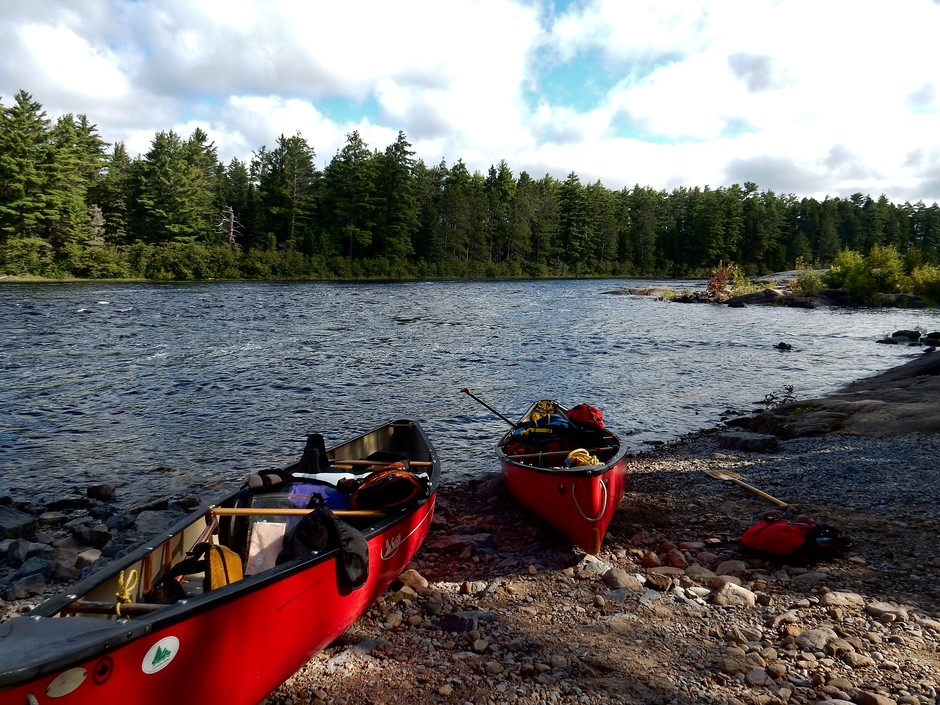
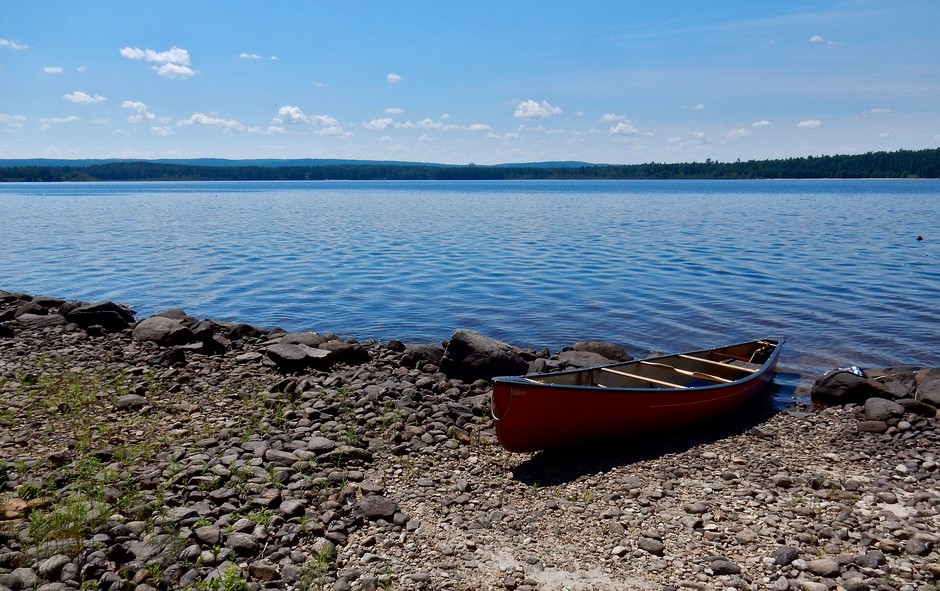
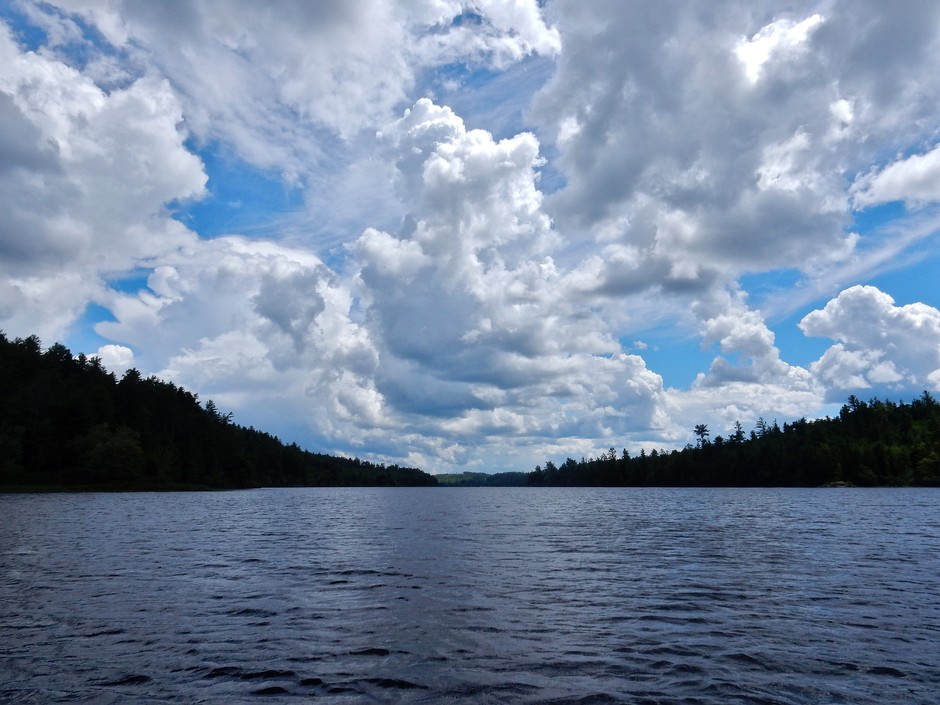
The next, and last, lake is McManus Lake. The take-out is at the bottom end of McManus Lake, which of course means that you can also put in there. As a result, it is quite a popular lake with a fair number of people putting in here for short interior trips that don’t require any portaging. There are a few really nice camp sites here on big beaches, but as you can only book by lake in Algonquin Park and not by campsite, don’t count on getting one of the nicest ones. The take-out at the end of your trip is very obvious on a large stone beach.
I hope you’ve enjoyed your vicarious trip down the Petawawa River. The Petawawa River is so much more than just a whitewater destination however. It is also a beautiful section of the Canadian Shield with an abundance of flora and fauna. I encourage you to support the work of Hodnett Canoe Guides by purchasing a copy of my book, Paddling with a Naturalist. However, I would also like to appeal to your self interest, because I know what you must be thinking. You’re thinking that what you really need for a trip like this is a nature guide for canoeists. Fortunately Paddling with a Naturalist, is exactly that.
Paddling with a Naturalist offers an opportunity to gain a strong sense of the forces behind, and the interconnectedness of the natural world. It will allow you to better understand what makes nature function, and to appreciate why the things you see from your canoe are the way they are. To see nature as a biologist does. Paddling with a Naturalist is written like a travelogue. Follow me through the creeks and lakes of Algonquin Park, and along the portage trail, to find that at the end of your journey you have come to understand the forces that make our beautiful natural world possible. Bring it along on your next canoe trip and see nature through different eyes.
Buy Paddling with a Naturalist*Maps are courtesy of http://atlas.gc.ca/toporama licensed under the Open Government Licence – Canada